Table of Contents
*This post may contain affiliate links. As an Amazon Associate we earn from qualifying purchases.
Learning how to install over the range microwave without vent isn’t very difficult, but it does take some preparation. Luckily, we’ve got everything you need in this article to be able to tackle this job, even if you’re a beginner when it comes to DIY home projects.
What Do I Need Before I Begin?
Here’s what you’ll need to learn how to install over the range microwave without vent:
- A plug-in microwave that fits your space (make sure it’s not too big)
- A stepladder or stool
- A drill with different sized bits
- A pencil or marking tool
- A stud finder
- A helping hand (optional)
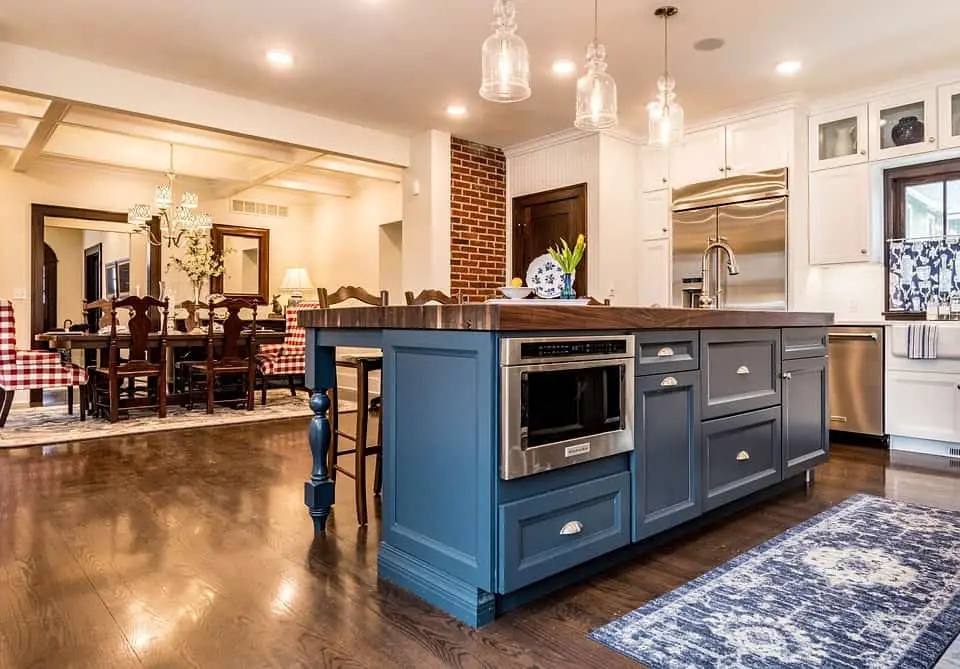
Steps for Installing a Microwave Over the Range
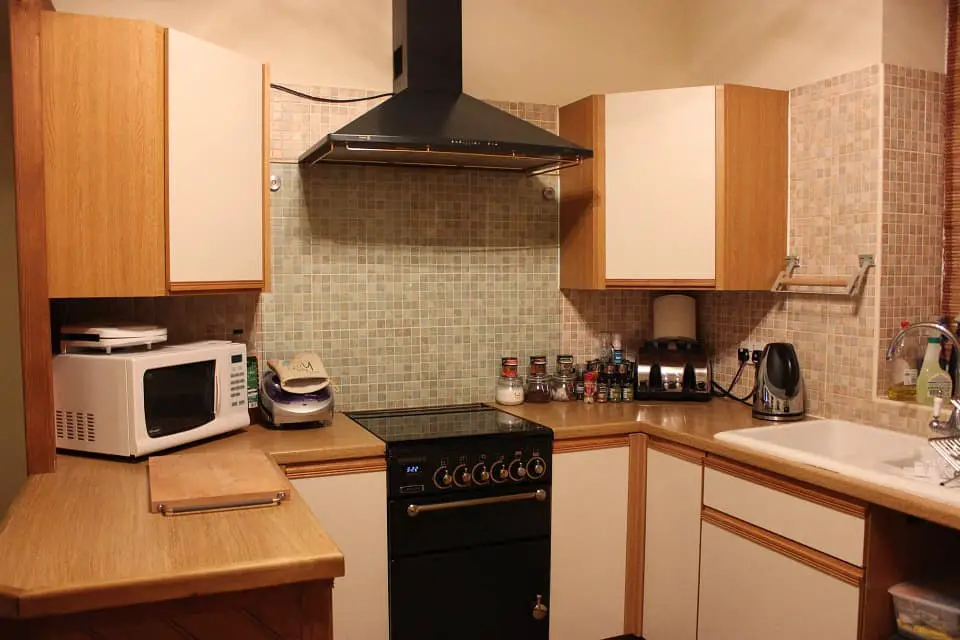
IMAGE BY:PIXABAY
1. Remove Your Old Microwave
The first thing you’ll need to do is remove your old microwave above the range. Removing and then installing a hardwired microwave requires some fairly advanced electrician skills which keep most people from handling the installation themselves, but as long as you’re dealing with plug-in microwaves, it’s usually just a simple matter of unplugging the microwave (the plug is typically in the cabinet above the microwave) and sliding it off its brackets.
You’ll then need to remove the existing hardware–unscrew any brackets and so forth. Unfortunately, microwaves can rarely if ever use the same brackets.
2. Prep Your Microwave
Next, you’ll unpackage your microwave. You need to make sure you don’t throw away any part of the packaging until you’re finished with the installation since there are cardboard or paper templates that you’ll need. You will typically find two templates–one for the wall showing you where to mount the brackets, and one for the top, underneath the top cabinet, to show where to drill the hole for the plug.
3. Check Your Vent Setup
You’ll also need to identify whether or not your microwave has a vent and if so, how it vents. Does it vent to the outside through the back or the top, or does it recycle the air and vent it back inside the home? Either way, you’ll need to remove the vent cover (most often on the top of the microwave) to make sure the blower is facing the correct direction–forward for interior venting or back or up for exterior venting. Each microwave will have a different set of screws that hold the vent in place, but they’re usually easy to find and if necessary you can check your installation instructions–they’ll tell you exactly what you need to do to remove or reposition the vent. If you’re venting to the outside, you’ll need to attach the included dampener using the provided screws, but if you’re venting to the inside, you can screw the vent cover back on.
4. Prep the Wall
Next, you’ll need to prep the wall for the microwave brackets. You cannot hang the brackets on drywall. Unlike photos, which don’t need to be hung on a stud, a microwave is extremely heavy and must be tied into a stud; the framing supports that hold up your walls. Use a stud finder to find and mark the studs in the wall, and then find the center line–the exact center of the space between the cabinets where the microwave will go. Once you’ve found the studs and the centerline, you’re ready to start prepping the templates!
5. Prep the Templates
Start with the top template–the one that goes above the microwave. Use the lines and provided instructions to line it up perfectly and then use painter’s tape to tape it into position. The lines will let you know where to drill holes through the cabinet–there’s a chance that previous holes might line up with the new holes, but that’s often not the case. You might have to cut out a hole for the vent, as well.
6. Drill Out the Holes in the Top Cabinet
Use a drill and the appropriate bits to drill out the correct holes–follow the microwave installation instructions carefully for this part, so you get your holes in the right places. Also, please note that you don’t have to remove the paper to drill; you can drill straight through it! Once the holes are drilled, you can remove the template, but make sure you mark your freshly drilled holes to distinguish them from any old holes. Now, match the center of the wall template to the centerline you marked on the wall as well as whatever other marks the template instructs you to mark. Unlike the top template, you won’t tape this one into place. Every template works a little differently, but most will have a bracket that you’ll attach with screws on the side as well as a screw in the center along the midline. The goal is to get at least one of the screws in a stud. Once you’ve lined up the bracket along the midline, you can begin to install the screws with a screwdriver or by hand.
7. Install the Microwave
Now, it’s time to install the microwave. For this part, it’s really handy to have people and a screw or stepladder so you can get up to the top cabinet. Lift the microwave carefully so that it attaches to the bracket. At the same time, guide the cord through the hole into the upper cabinet. Before you release the microwave, attach the provided screws through the top in the holes you already drilled. You don’t need to overtighten these, but once they’re in, double check the bottom of the microwave to make sure the brackets are visibly supporting the microwave from underneath. If not, they’re not in securely, and your microwave could come crashing down!
8. Plug in Your Microwave
The final step is the easiest–plug your microwave in!
How Do I Get Rid of My Old Microwave?
If your microwave still works, you can sell it using an app like OfferUp, or you can donate it to a friend or your local Goodwill. However, if it’s no longer working, you will have to properly dispose of it.
Improper disposal is dangerous because of the capacitor inside the microwave, but some cities and communities allow you to place appliances at the curb along with your trash. If that’s not an option, you can check with your local recycling center.
What Kind of Microwave Should I Get?

IMAGE BY:PIXABAY
Installing a microwave isn’t difficult, as you know now, but it can be tedious. If you’re going to all the trouble, it’s important you get something worth the effort. How do you know what kind of microwave you should get? Here are some of the important questions you should ask:
You have a lot of options when it comes to microwaves: countertop, built in, with a vent, without a vent, warming drawer, etc. If you’re reading this article, you’ve already determined that an over the range microwave is the way to go, and those are popular options. This means you’ll have tons of choices when it comes to features, sizes, and finishes.
Choosing a finish is usually an easy problem to solve–typically you’ll get a microwave that matches the rest of the kitchen. But what about features? And how much should you pay for one?
You can certainly find over the range microwaves for less than $200, but typically at that price point, you’ll sacrifice quite a bit in terms of features and useable space. The $300-$400 range offers a wealth of additional features, including some of the following:
- Bluetooth connectivity
- Default settings like “popcorn” and “pizza” and “baked potato.”
- Broil and convention features like you would find in a full-size oven
- Inverter technology that helps you better control your microwave’s power
Additional things to consider when you’re choosing a microwave:
- Wattage (the more wattage, the more power; you’ll usually pay more for additional power, however)
- Internal size (is there enough space to put your favorite plates inside? Do you have to remove racks to place a coffee mug inside?)
Final Thoughts
Learning how to install over the range microwave without vent can save you money, and when done correctly it won’t be difficult. It should even take less than an hour–and less than half an hour if you’ve got some experience!
Whether it takes an hour or a half an hour, it’s a great project to perform yourself, and you won’t need more than a drill and a few bits, especially now that you’ve got our super clear directions to help you out.
Just make sure you work slowly and carefully, read all the instructions thoroughly before getting started, and double check your measurements and marks before you drill or cut anything. Happy installation!